
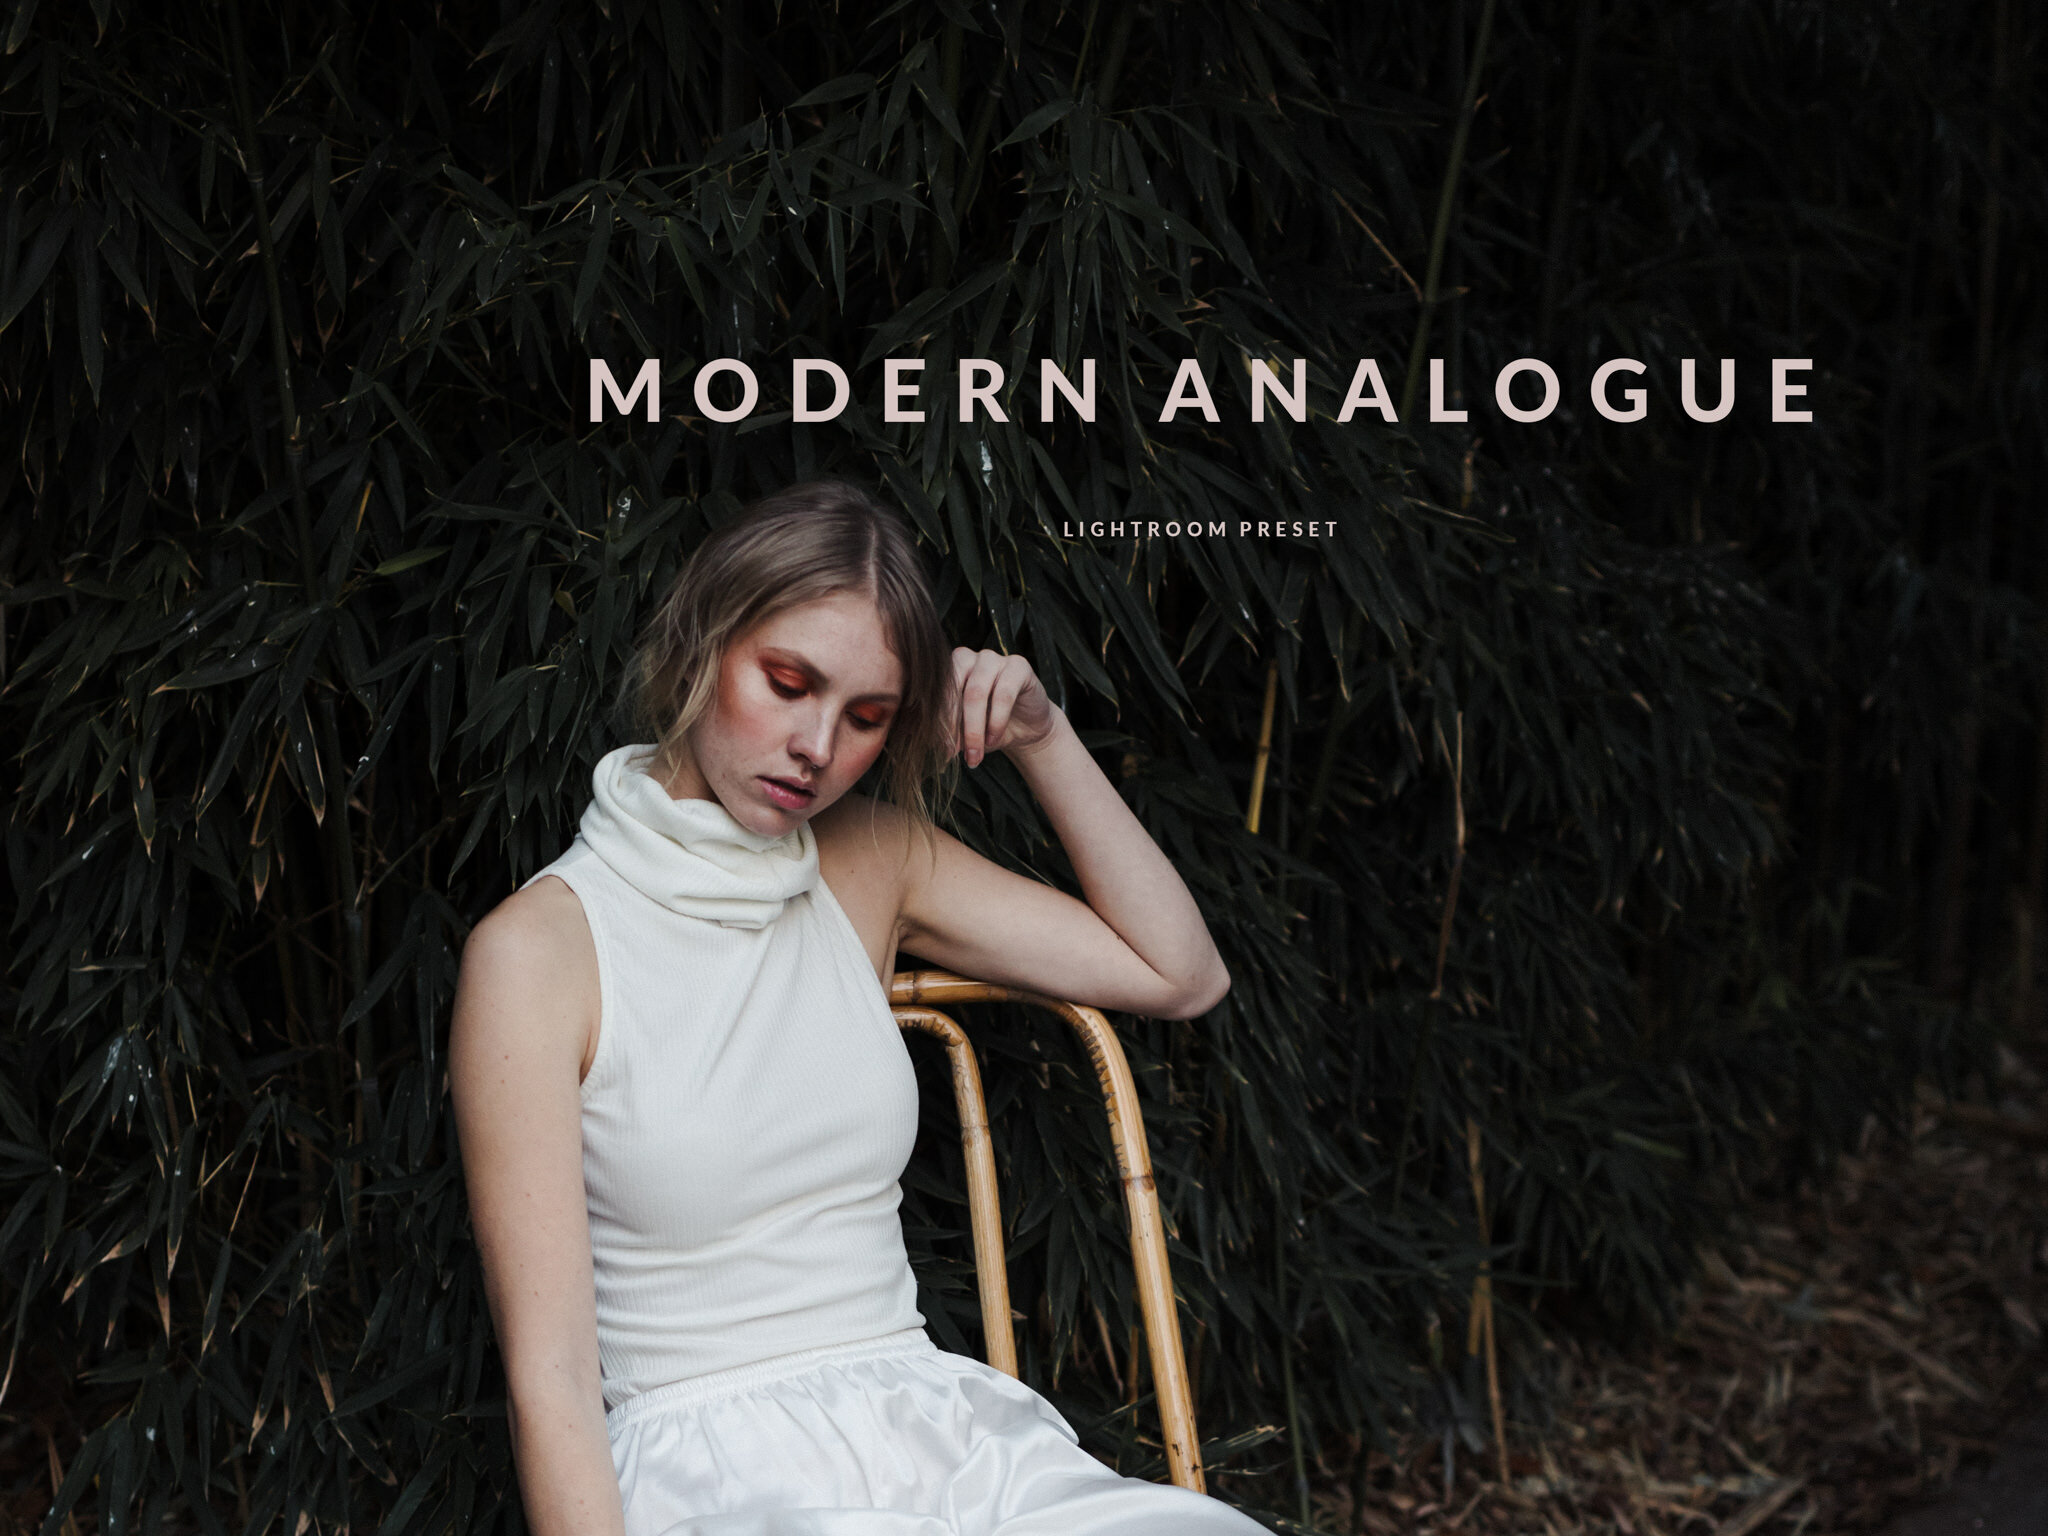
VSCO Cam Analogue/Aesthetic A6: How to create in Lightroom
The A6 preset from the VSCO Analogue/Aesthetic pack is one of my favourite VSCO Cam presets for a clean, minimalist look.I love the skin tones the A6 Analogue/Aesthetic preset gives in portraits, the warmth and richness it gives to browns, and also how it handles night time images. Unfortunately, there is currently no VSCO Film equivalent to use for editing larger images outside of the smartphone app- as far as I know- so I've had to be resourceful and make my own presets to adapt the stylistic qualities of VSCO Cam A6 to Lightroom.
There's not much out there online about achieving the look of VSCO Cam presets outside the smartphone in post processing, so I thought it might be useful to share my edits on this blog.
Note: I have rebranded this preset due to copyright issues with using the term 'VSCO inspired' . On my preset store it is now called Modern/Analogue.
Modern Analogue / A6 is available on my preset shop and can be download through the links below
In the VSCO Cam editing app on smartphones, there is an option to alter the 'strength' of the editing effect/filter in a slider- you can make a subtle edit or go full strength. This is great because some images look better with a more subtle change. This is why I've created 3 versions of the preset- A (regular), A+ (increased effect with more fading, colour shifts, and selective desaturation), A- (decreased effect), and an extra version for night time images.
Unedited (left) VSCOCam app A6 (right

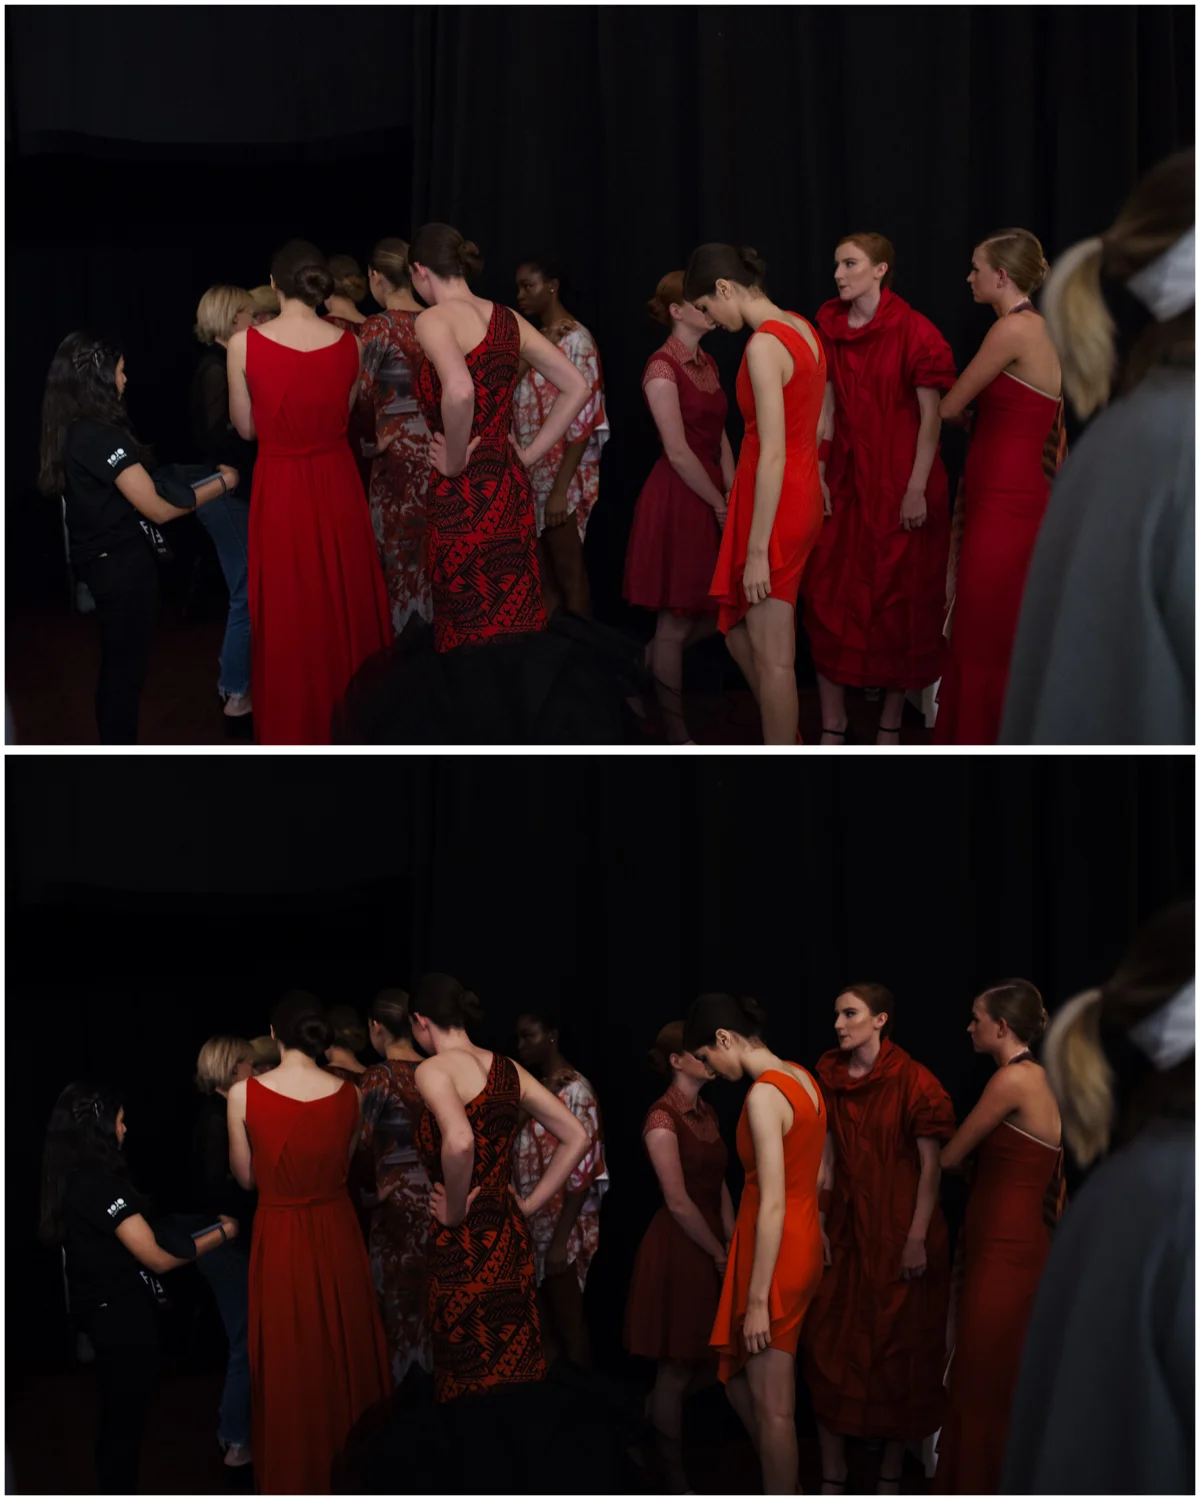
Unedited (top) Lightroom A6+ preset by SNC (bottom)
VSCOCam A6 qualities:
Details in the highlights are crushed, light colours (eg. in skin tone highlights) are shifted to white. This gives highlights a cleaner look. In Lightroom, I've made these changes by increasing the luminance of the yellows, oranges, and reds.
Overall desaturation. In Lightroom, I've reduced the saturation and vibrance slightly.
Mid tone pinks and reds are shifted towards orange and tangerine. In Lightroom, I've gone in the Hue slider and shifted the reds to orange red.
High midtone contrast. Depending on the image and how much contrast and texture I need, I create mid tone contrast in the RGB curve. Increased clarity and moving the contrast slider to the right also adds to this.
In images with a lot of browns/ wood tones, mid tone yellow shifts to a darker richer reddish orange (wooden tones tend to be deeper and redder after the preset). For this effect I've made a few changes in Lightroom to the Hue, Saturation, and Luminance, shown at the bottom of this post. I've also gone into the individual RGB channels and created an asymmetric S curve where the shadows are affected more than the highlights- I dragged the blues down slightly in the shadows, the greens down further, and the reds even further.
I've given you a walkthrough of the editing required for the A6 preset, but you can also purchase my Lightroom preset which will import straight into your Lightroom. I've also blogged about VSCO Subtle Fade M5, Street Etiquette SE3, Mellow Fade F2. A6 and all of the above are available at my Etsy store.
Unedited (top left), VSCO cam app A6 preset (top right), Lightroom A6- editing (bottom)

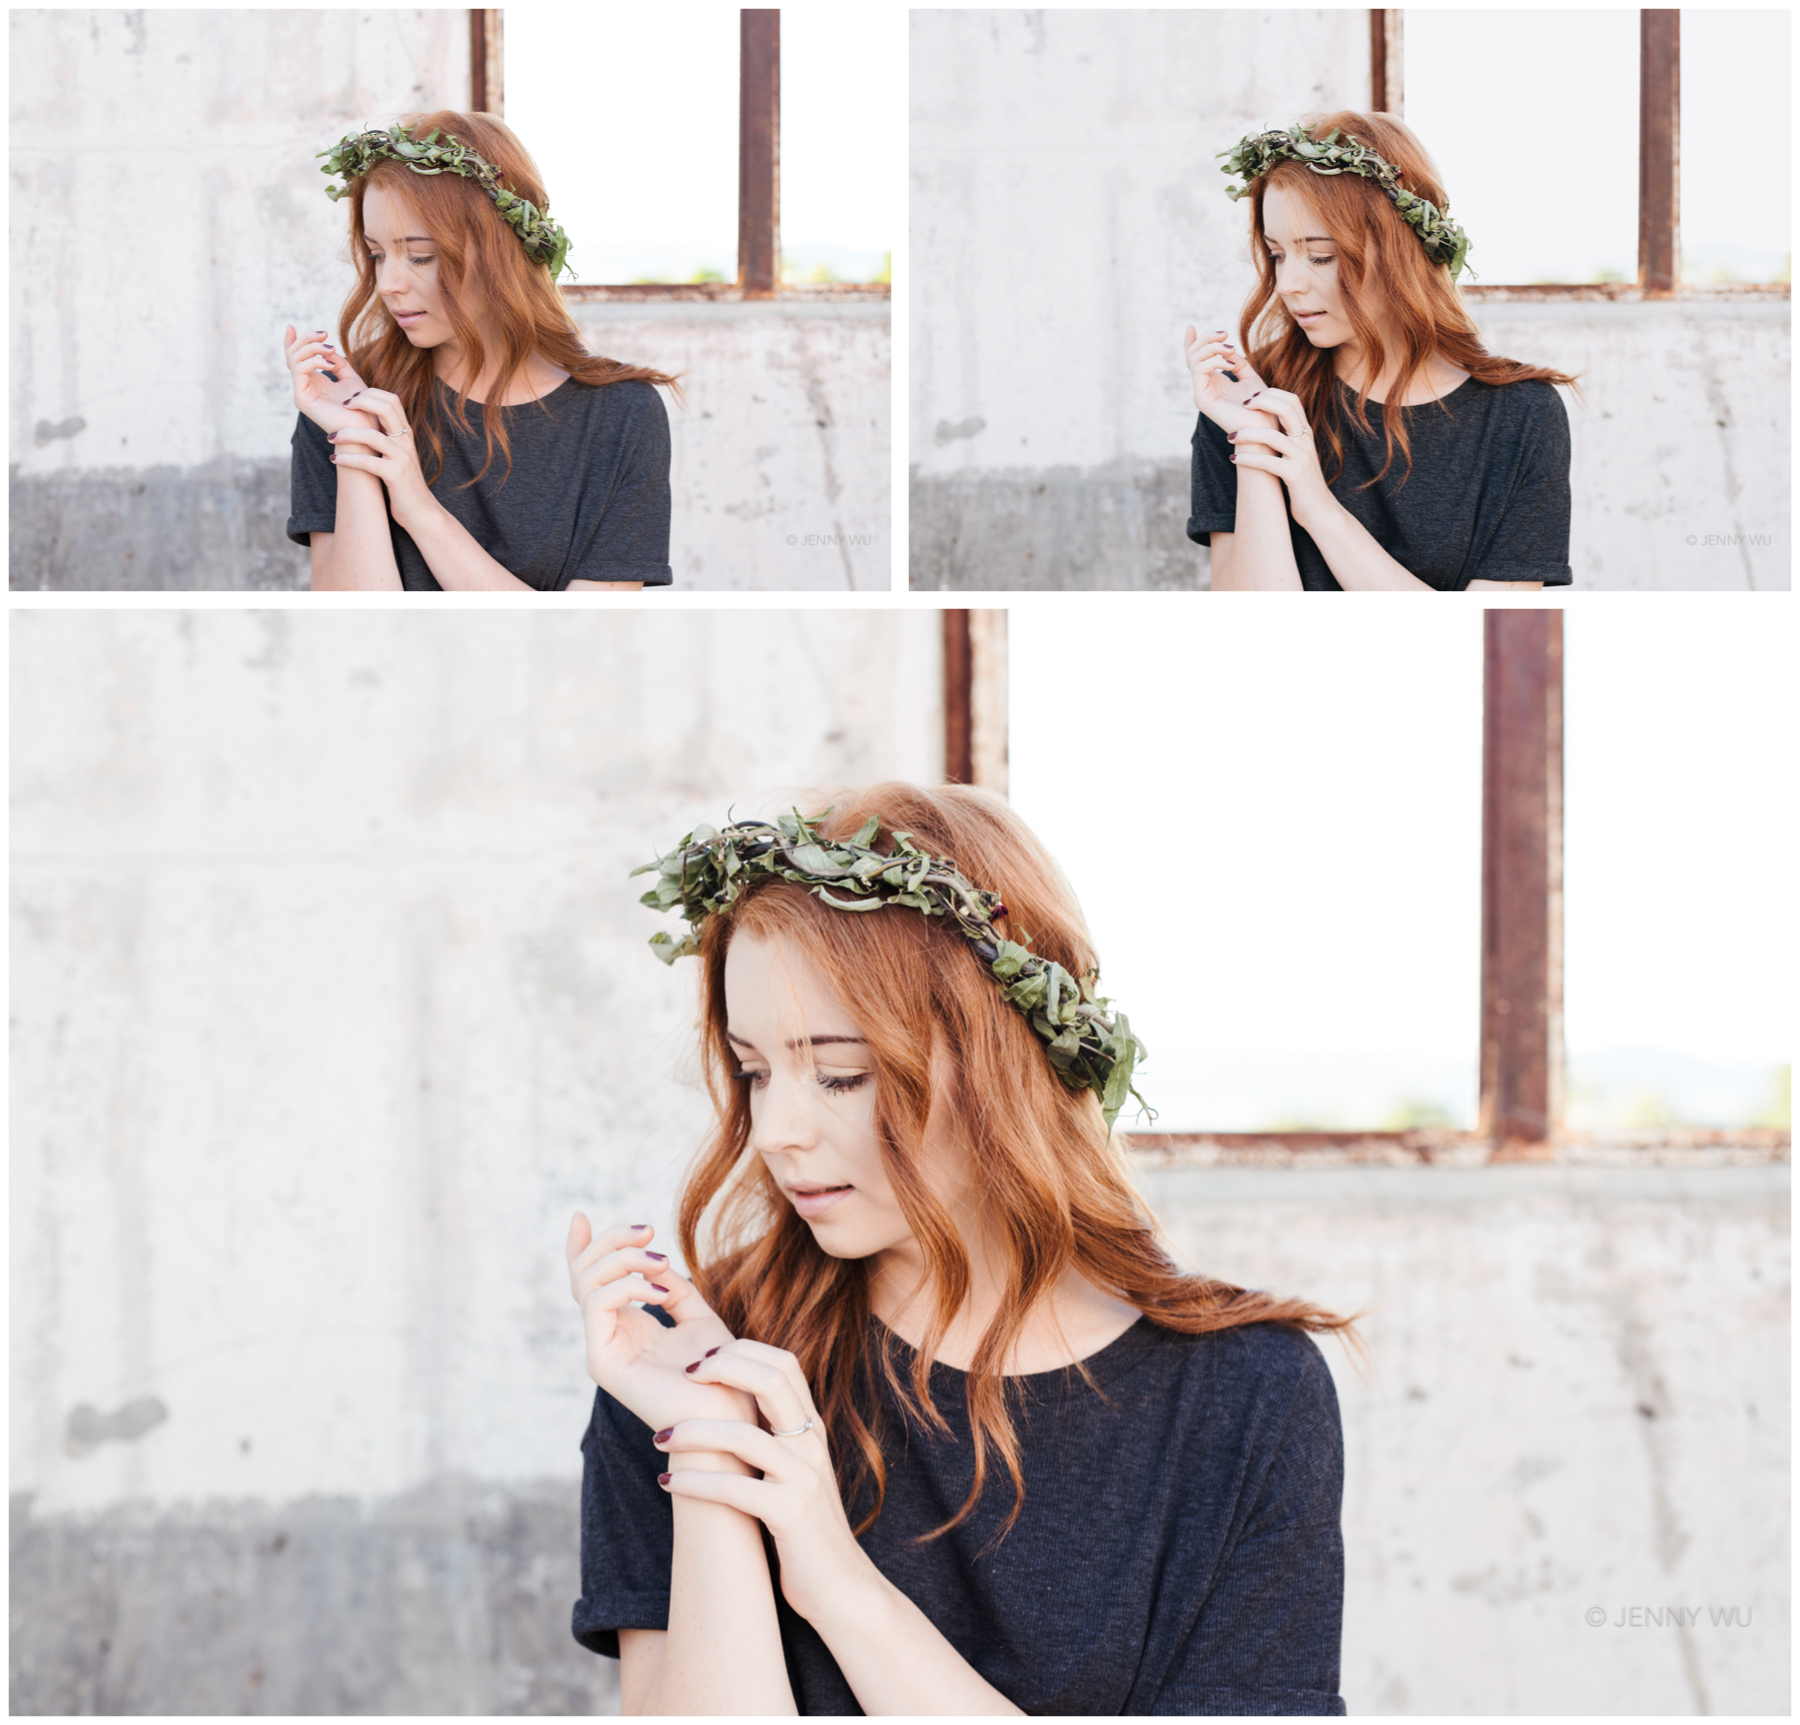
Unedited (top), A6 Lightroom preset (middle) A6+ preset (bottom)

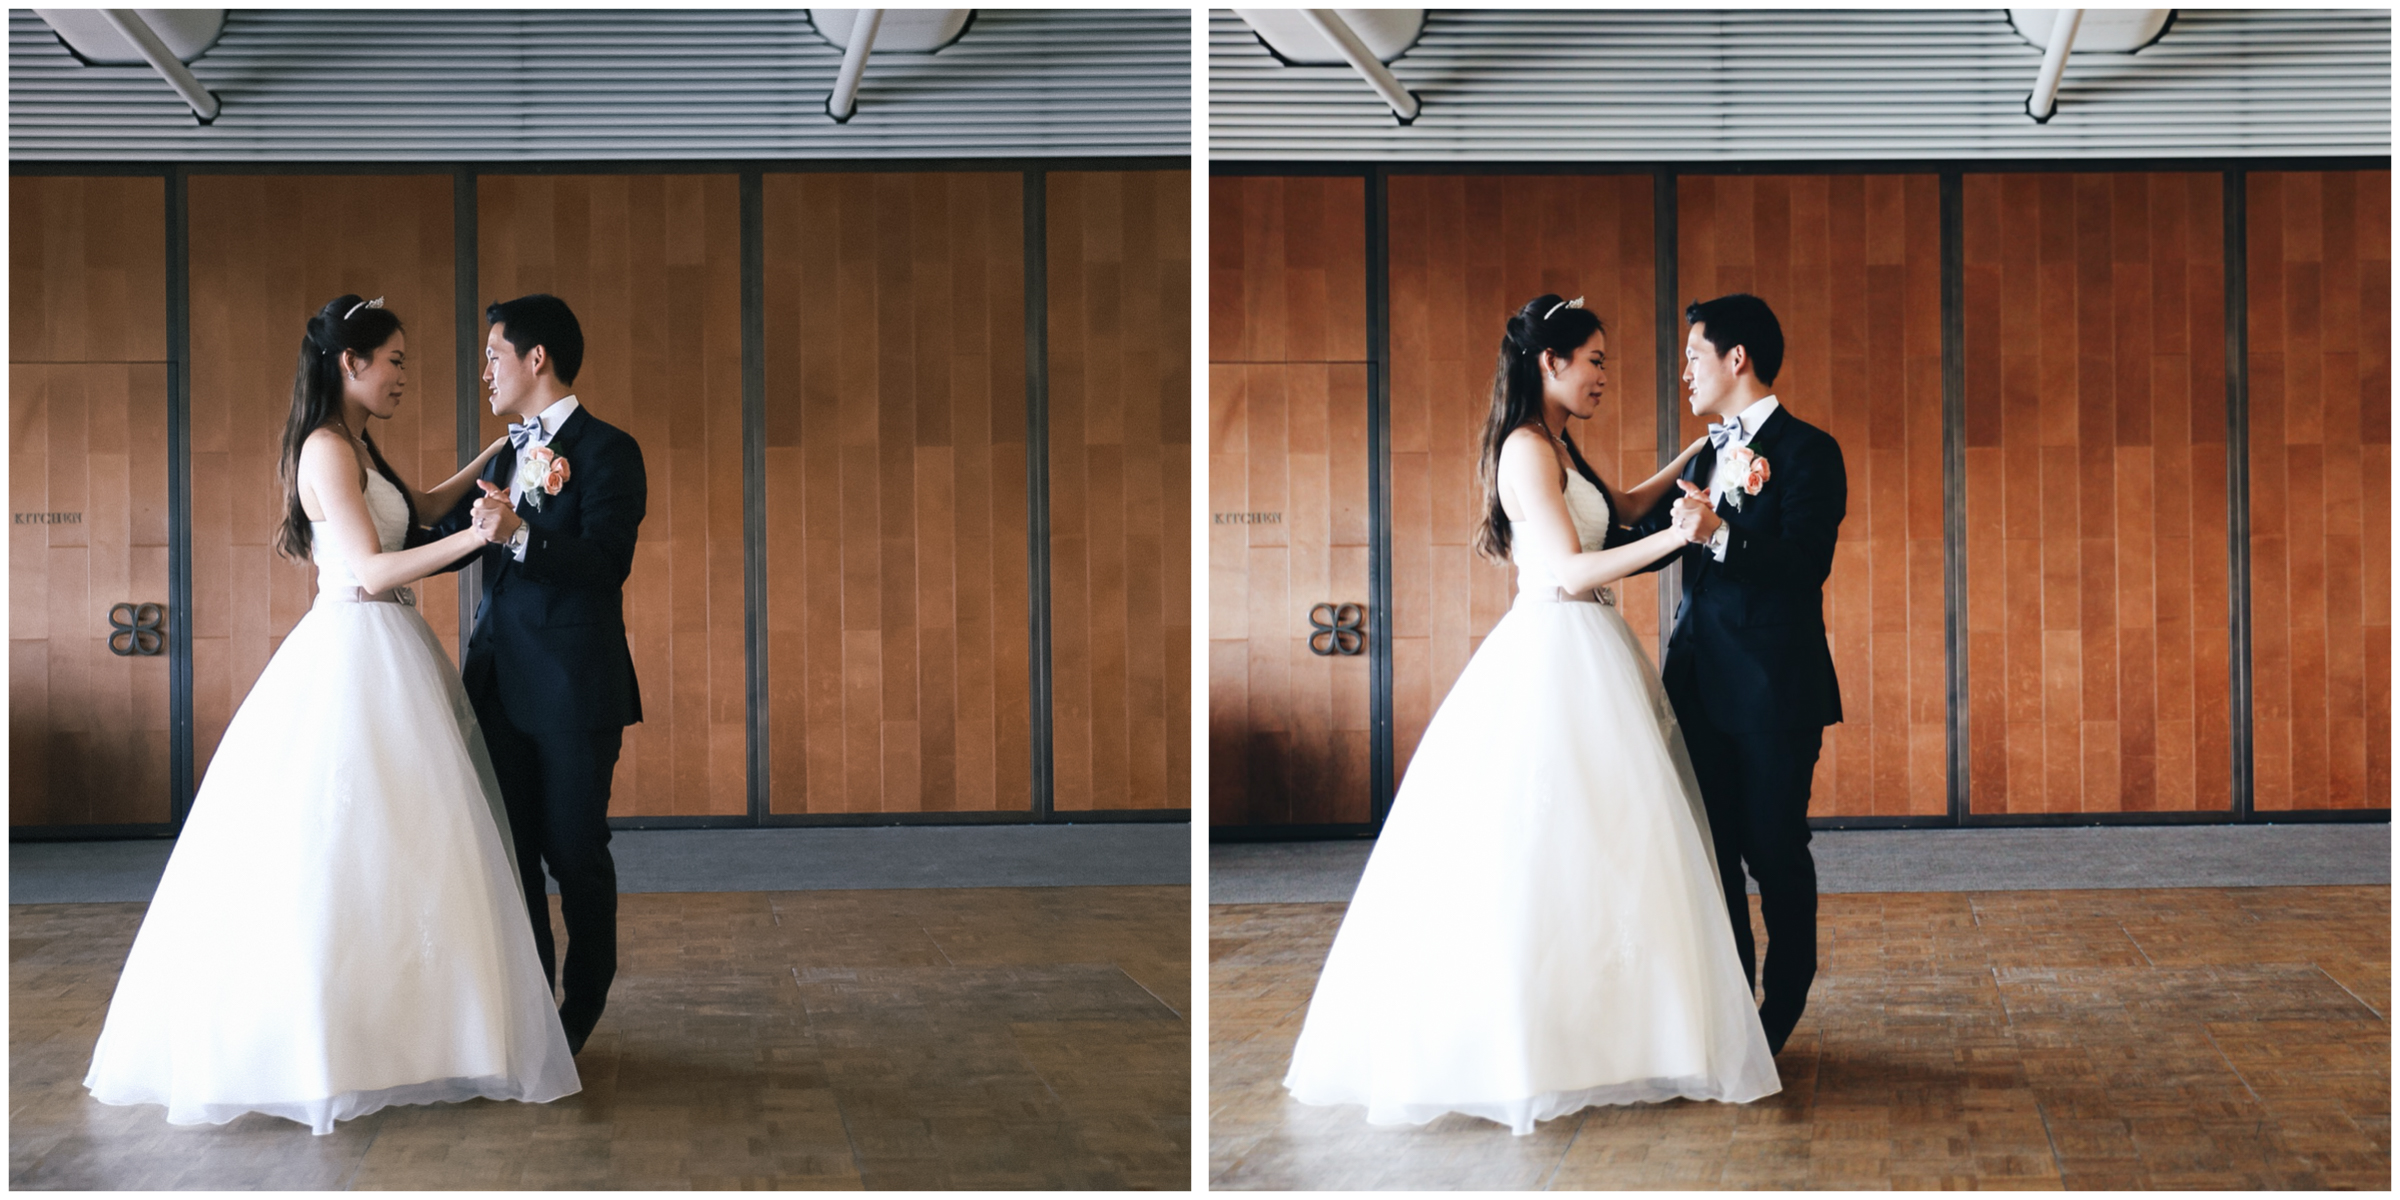
RAW (left), Modern Analogue / A6 Lightroom Preset (right)

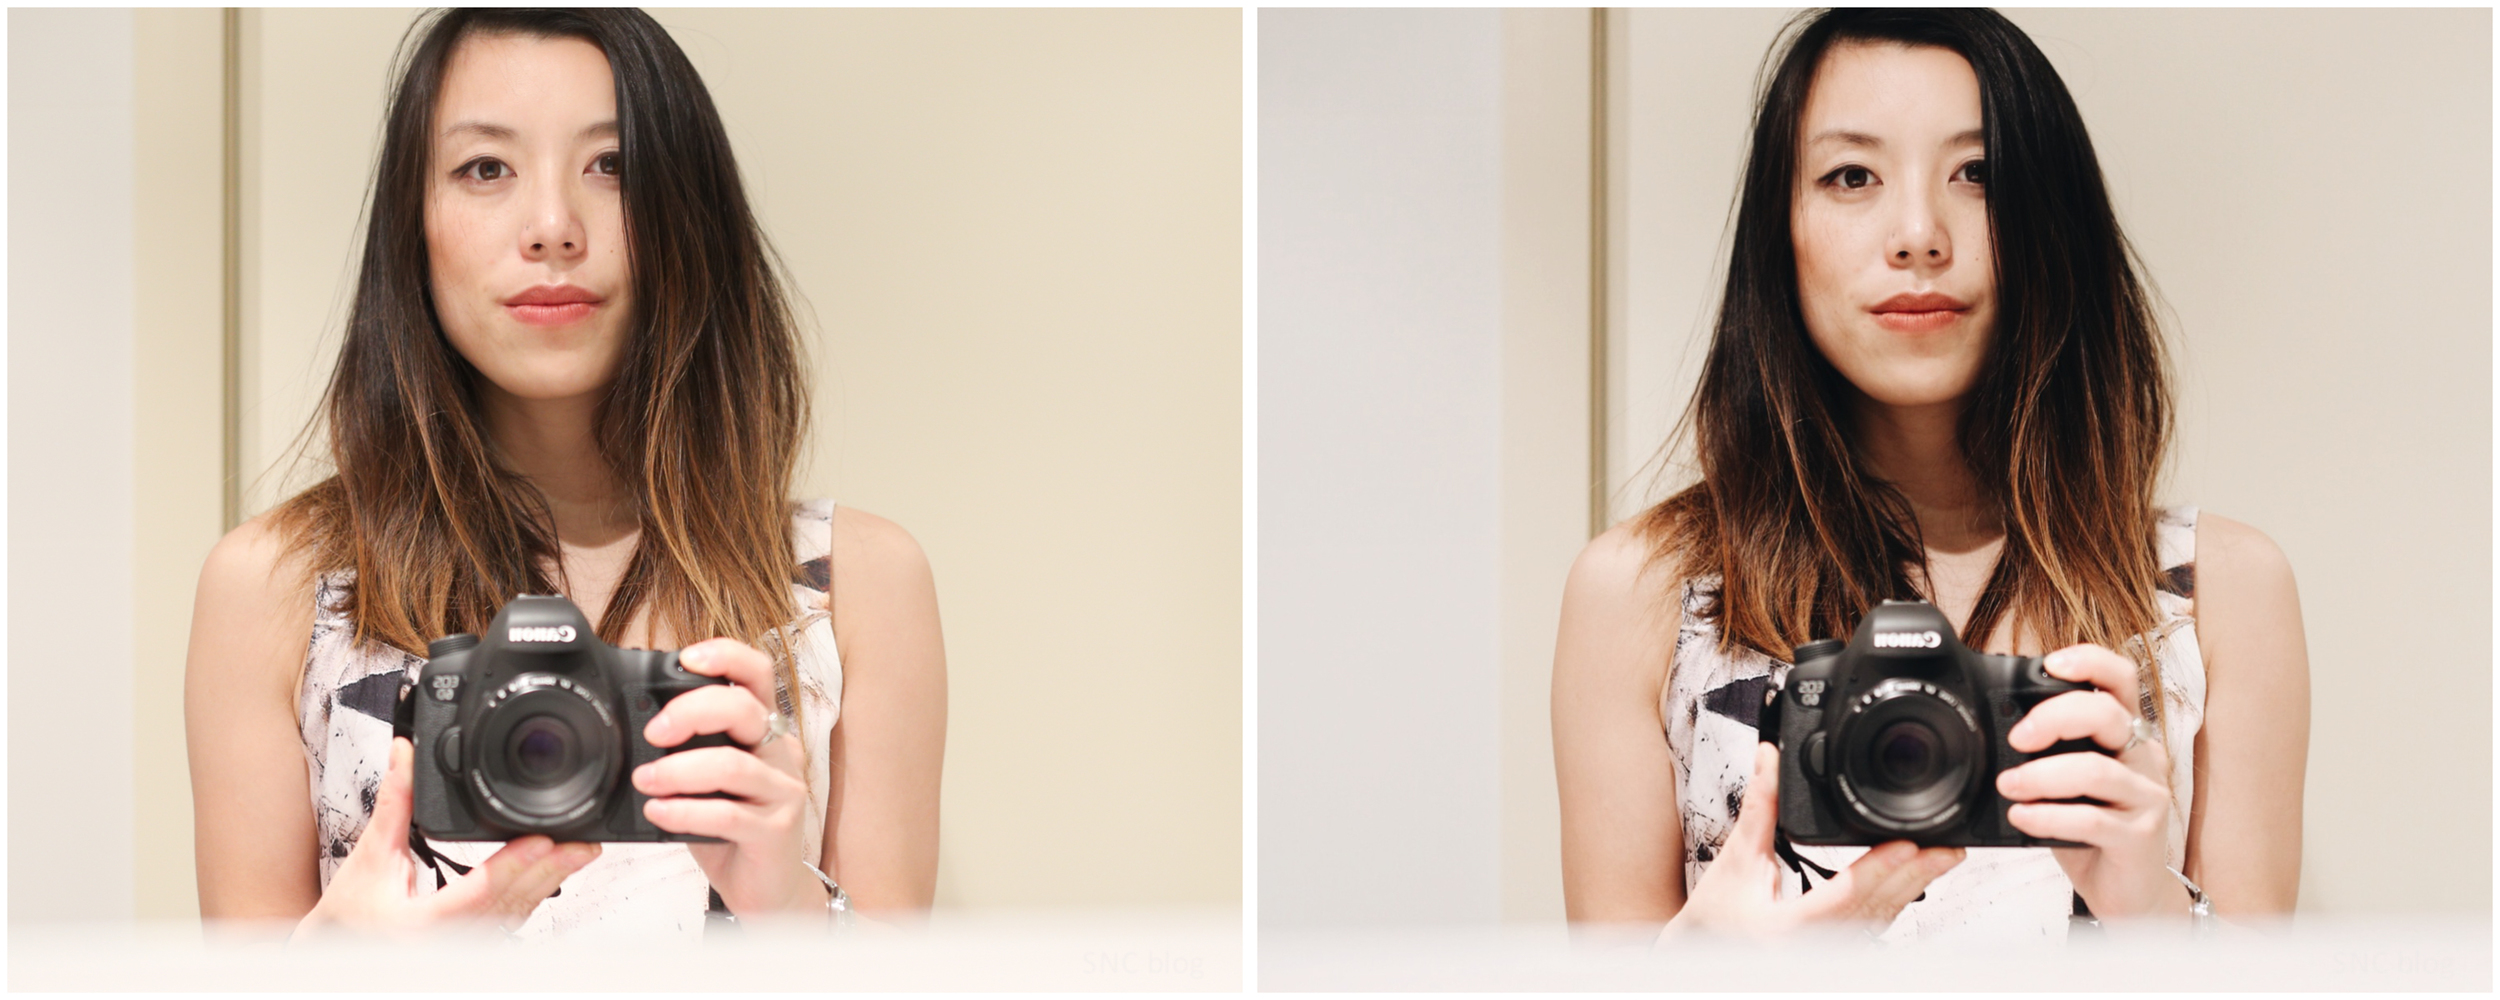
Unedited (left) A6 Lightroom preset (right)

VSCO Cam A6 vs A6 Lightroom Preset by SNC: unedited (top and bottom left), VSCO Cam A6 (top right) A6 Lightroom Preset (bottom right)

RAW (left), Modern Analogue / A6 Lightroom Preset (right)
VSCO Cam Analogue/Aesthetic A6: How to create in Lightroom
Above on the right- jpeg straight out of camera, on the left- image processed in VSCO Cam app A6 (about 9 on the slider that determines the intensity of the preset. I find this often works best for portraits)

VSCO Cam A6 inspired Lightroom Preset

Unedited (left), VSCO Cam app A6 edit (right)

VSCO Cam A6 inspired Lightroom Preset

unedited (top left) A6 Lightroom Preset (top right and bottom)
unedited (top) A6 Lightroom Preset (bottom)

Unedited (left) VSCO Cam inspired A6 Lightroom Preset (right)

RAW (left) VSCO Cam inspired A6 Lightroom Preset (right)
A6 for night time scenes.
VSCOCam A6 preset gives night time scenes a clean, crisp look- making white objects and light sources appear white rather than yellowy orange like it often looks in Jpegs or many standard imports presets. Skin tones look more natural, less red.
My version of A6 in Lightroom does a similar thing to images, and to optimise the edit for night time scenes I've made a few changes to the regular A6 preset- I increase the clarity slide to 10, flatten the tone curve (but keeping the curves in the individual RGB channels), no split toning, and increase the noise reduction to 28.
This preset is included in my A6 Analogue/Aesthetic Inspired Preset Pack

unedited (top) A6 Lightroom Preset Night ( bottom)

unedited (top) A6 Lightroom Preset Night ( bottom)

RAW (left) A6 Lightroom Preset (right)