Hypebeast HB1 inspired Lightroom Preset- Savage 1
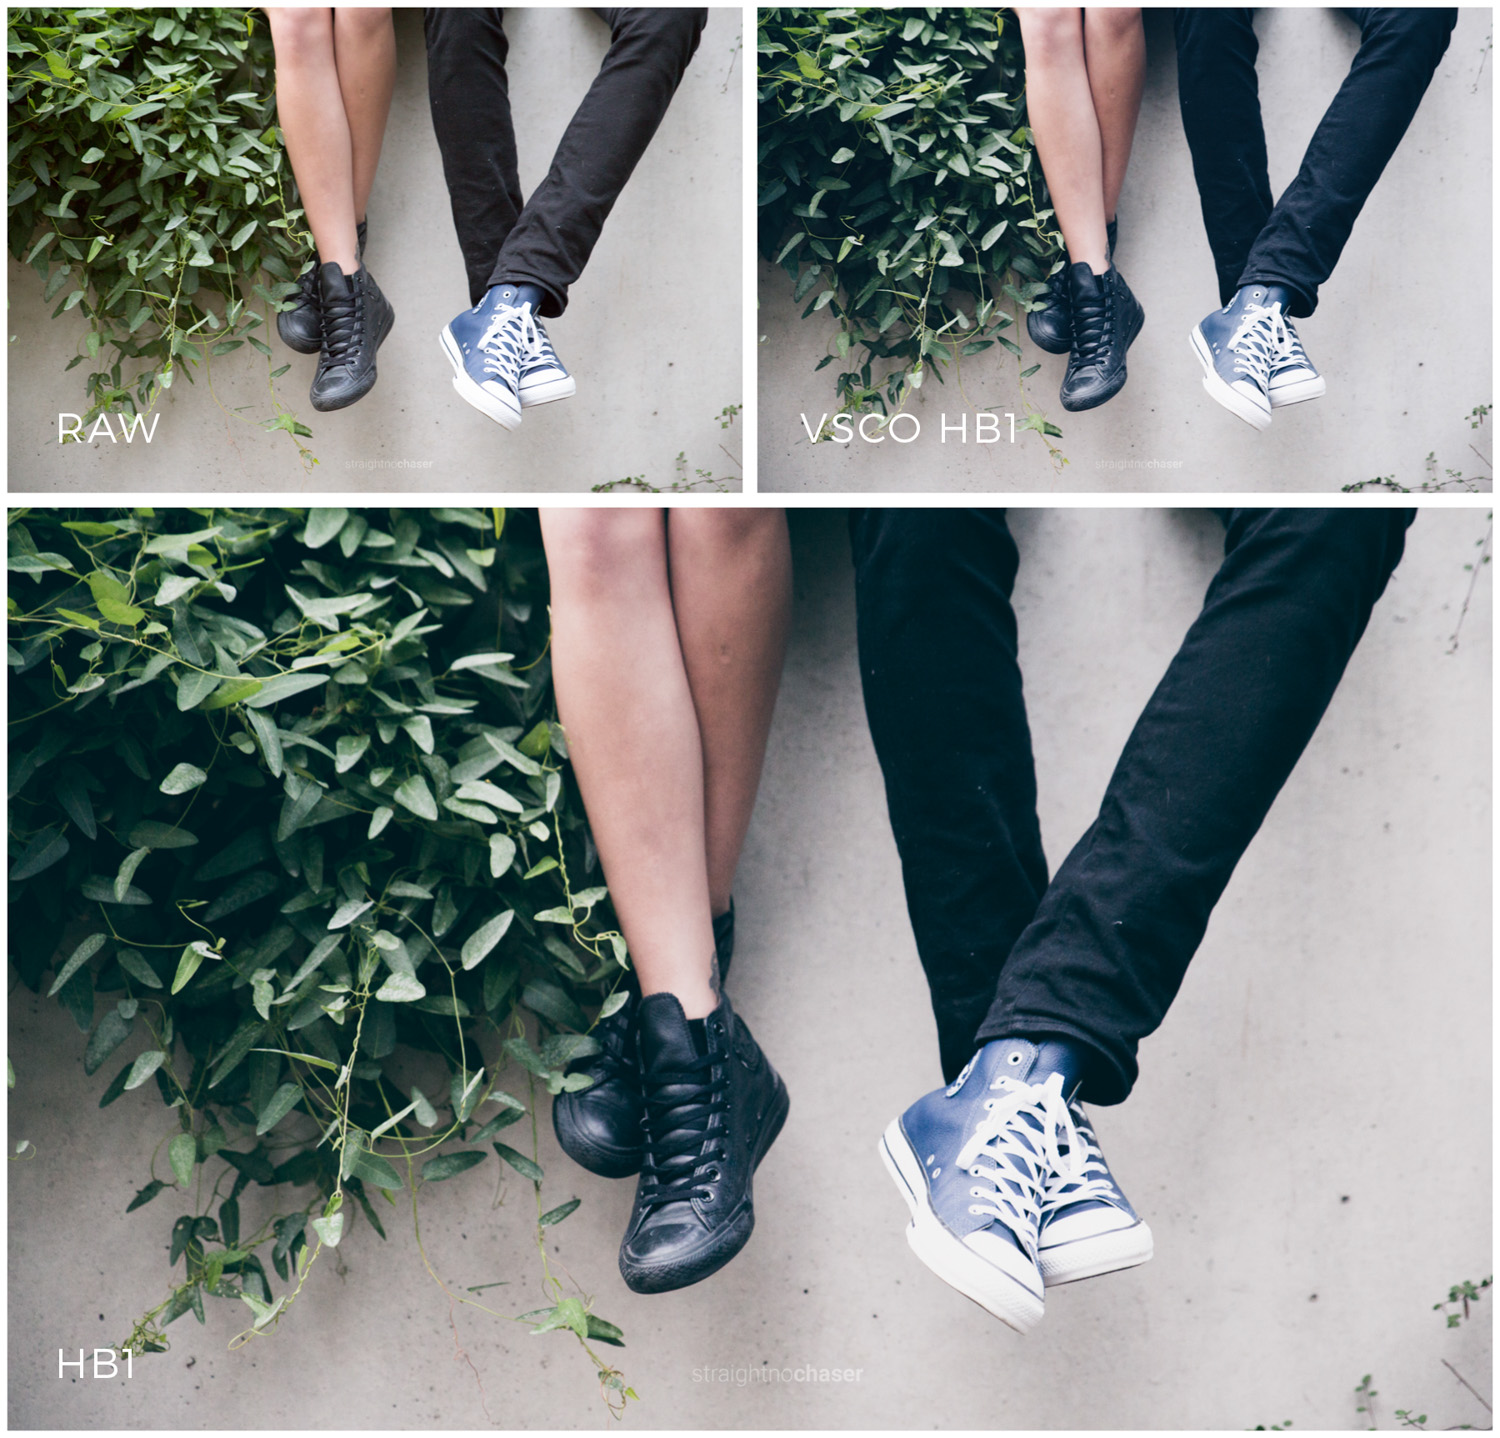
VSCO x HYPEBEAST Preset collection (HB1 and HB2) was created by the fashion and lifestyle collective HYPEBEAST. The collection has a very street style, editorial vibe- the HB1 in particular. I love the clean highlights and the gritty bluish toned heavy fade in the shadows. Perfect for street photography, fashion blogging, urban landscapes, and editorial style portraiture.
The VSCO Cam filters are designed for mobile photography. In my HB1 preset, I am emulating the tone curves and colour shifts that gives HYPEBEAST HB1 it's look- at high resolution. I'll break it down as we move down the post.
As with all my VSCO Cam inspired presets, I've included a + version and a - version: these represent the various intensities in the VSCO Cam scale (the - version recreates approximately a 6/10 on the intensity slider, the regular HB1 represents the 10/10, and the + version takes it one step further for a more dramatic effect). Some images (particularly female portraits) look better with a subtle edit, and some look best with the punchy plus version.
I find having the plus and minus versions gives us a quick and easy way to use the preset in various image situations without having to go in and fiddle around with the RBG channels and tone curves, which can get quite complex because the relationship is not straightforward. Trust me.
Note: this preset has been renamed to Savage 1 (and HB2 is now Savage 2) due to copyright issues with using the name VSCO - more info in this blog post.
HB1 / Savage 1 (left) compared with HB2 / Savage 2 (right)
HB1 characteristics (part 1)
The blacks are faded, giving it a matte look. In the RGB tone curve I've dragged the blacks up (from the bottom left point) to create shadows.
Moderate amount of mid tone contrast. In Lightroom Tone Curves I used a slight S curve for each individual colour channel, as well as having an S curve in the centre of the RGB tone curve.
Slight overall desaturation. In Lightroom, I’ve reduced the saturation and vibrance.
Reds are shifted towards orange and tangerine. In Lightroom, I’ve gone in the Hue slider and shifted the reds to orange red.
Part 2
Reds are shifted towards orange and tangerine. In Lightroom, I’ve gone in the Hue slider and shifted the reds to orange red.
Mid tone to highlights (applies to skin tones) are brightened and contrast reduced in that specific part of the tone curve. This can be achieved in Lightroom with a combination of dragging the mid/highlight part of the RBG curve upwards and slightly to the left as well as slightly bumping up the luminance of the orange channel in the HSL panel.
Blues are brighter: Easy! HSL panel luminance increase in the blue and aqua channel.


