My DSLR to Instagram Workflow- the OCD photographer's guide
Let me preface this post by saying that I am by no means a whiz at Instagram- getting followers, engagement, etc etc.
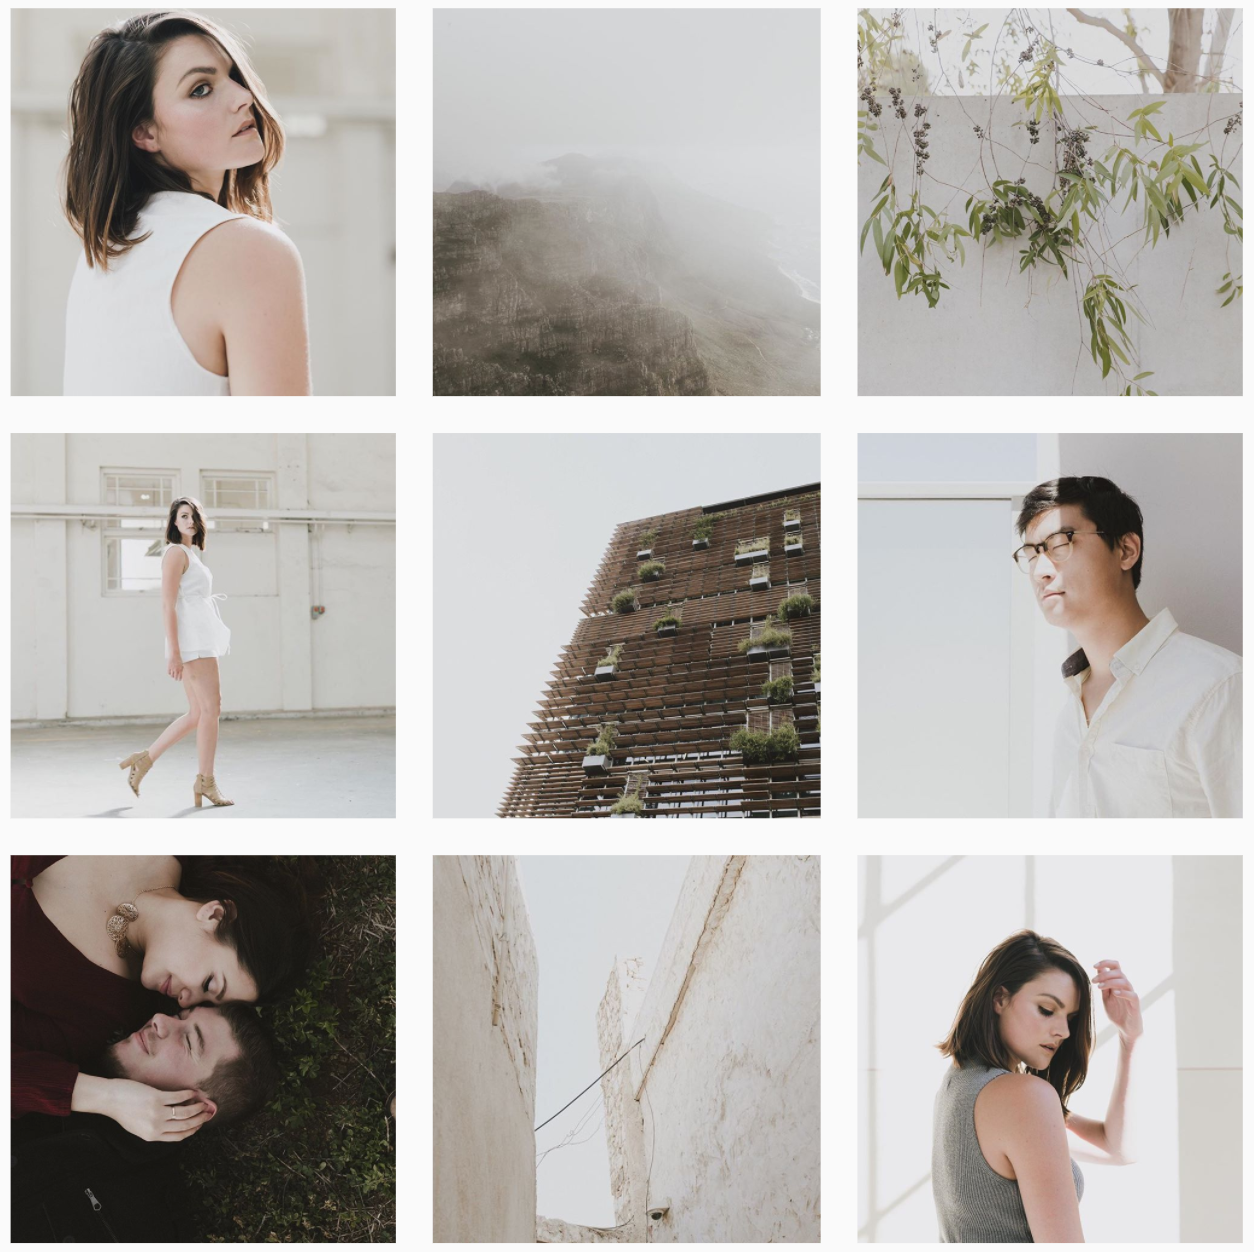
This post is about my workflow for getting RAW images from my DSLR to Instagram in a way that is streamlined, works with the way I edit, and also allows me to be OCD about my how my grid looks.
I see my photography Instagram account @StraightNoChaserPix as a rolling portfolio. It's easier to show someone your work by opening Instagram than to load up your website. For this reason I like my grid to make sense and for the images to reflect my aesthetic.

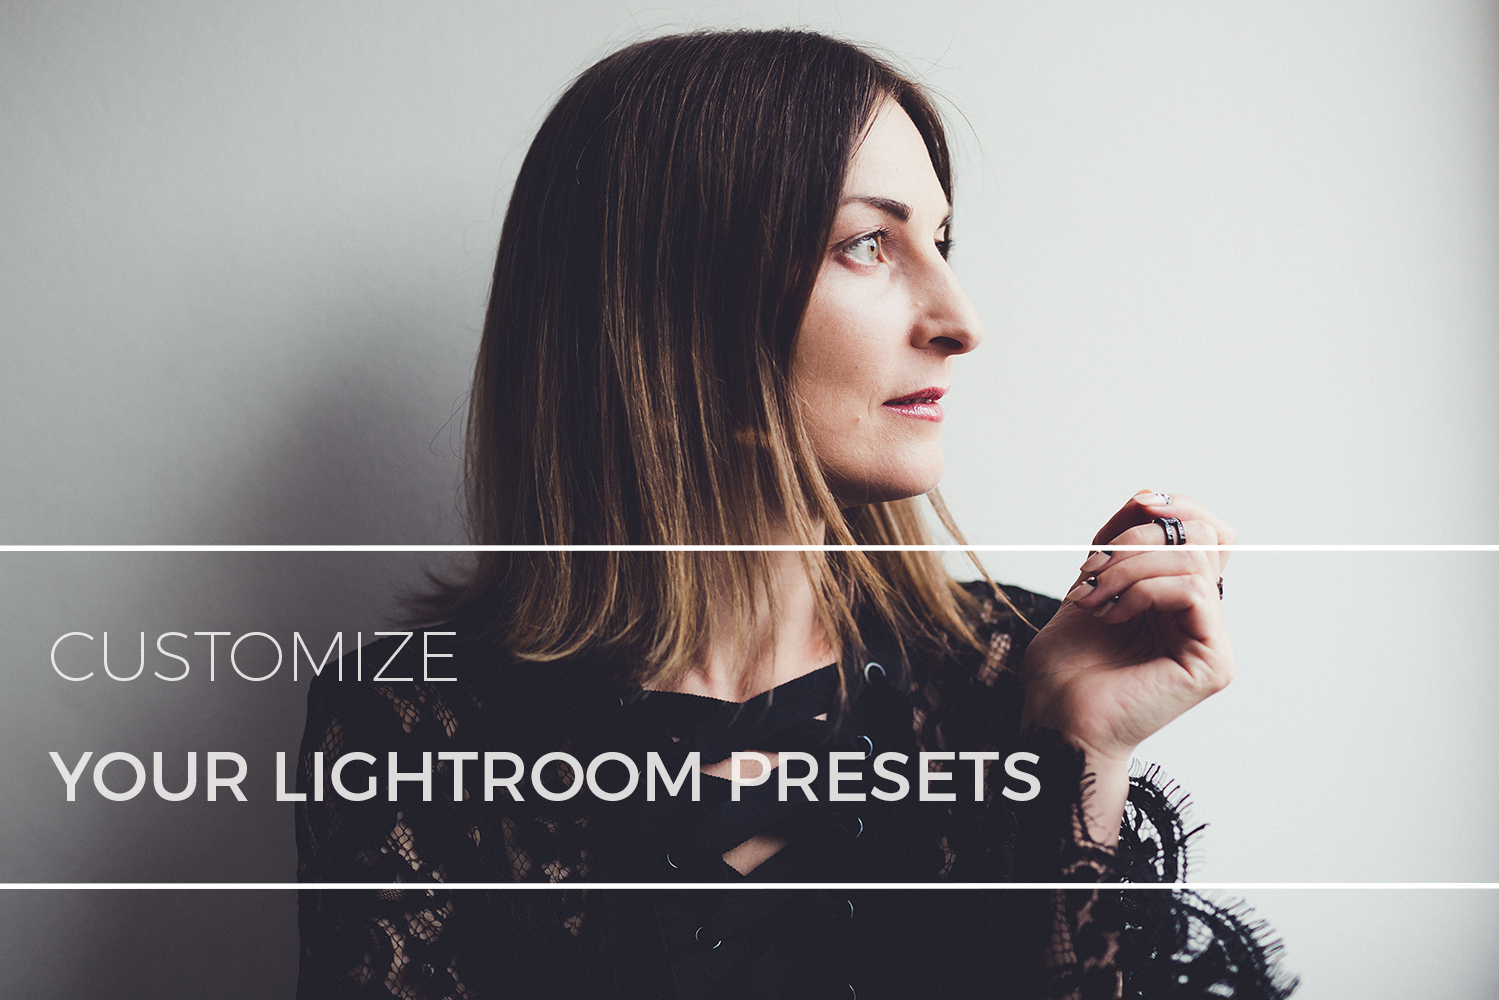
Using Lightroom Preset Part 2: Customizing Contrast, Fading, and skin tones
Why customize?
Personal style. You might like to be able to control how much highlight or shadow fading there is in your images, amongst other things.
Consistency in varying shooting situations. Being able to tweak settings can help you achieve a similar look across both high contrast and low contrast scenes.
Skin tones. Sometimes skin tones can look a bit funky in certain lighting with certain presets. Tweak the settings to flatter skin.
In this post I go through how to customize your presets to suit a variety of situations. I will be mostly using my own presets (you can find them at my preset store on Etsy), but I also include an example of customizing a Dawn Charles preset.

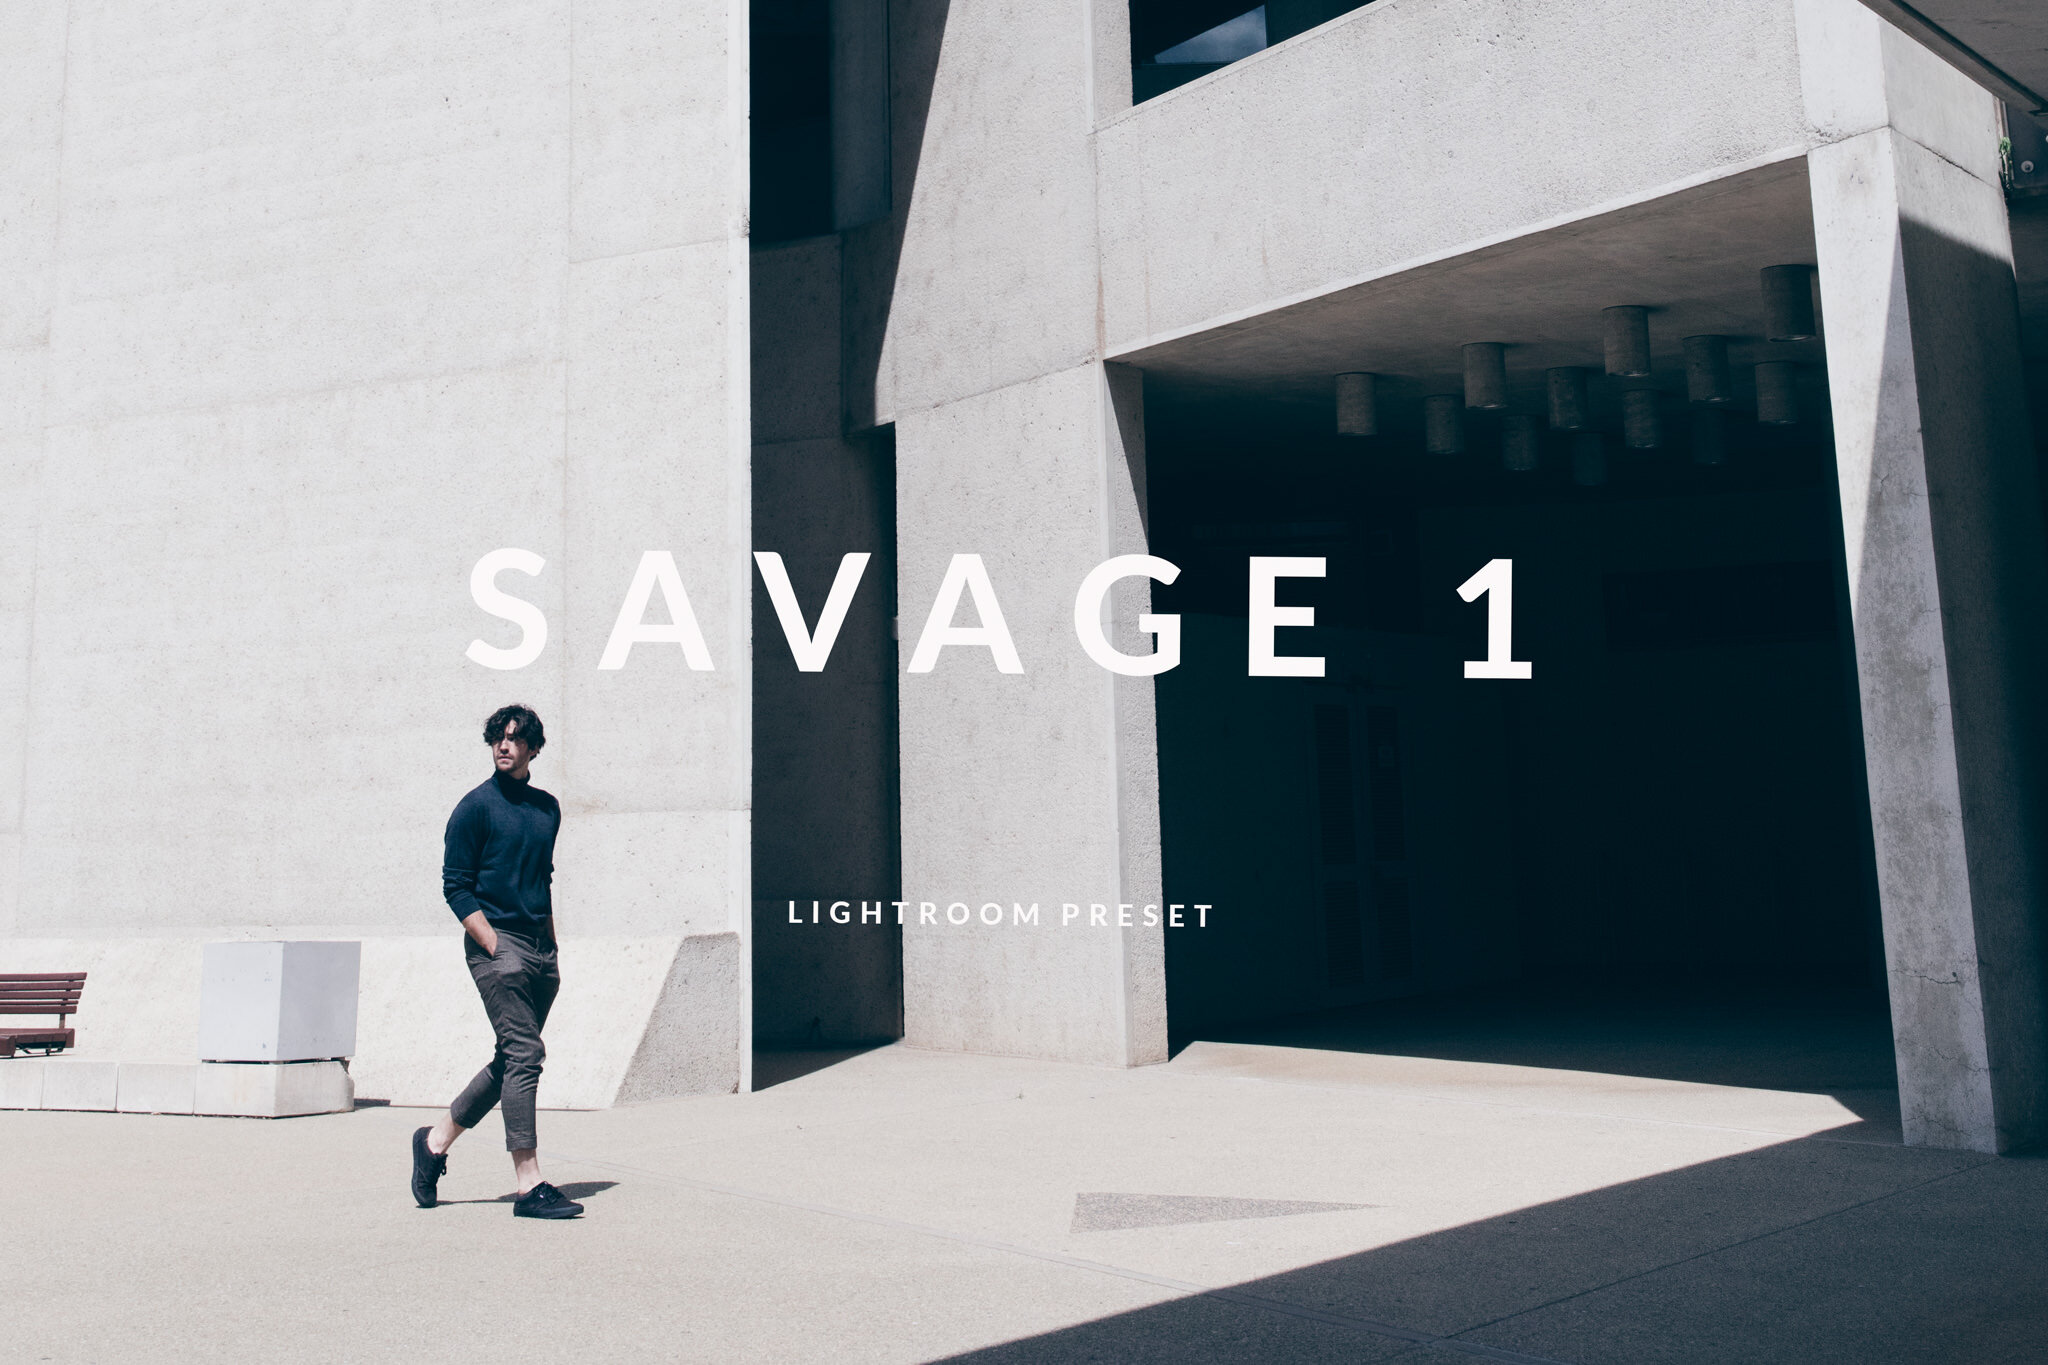
Hypebeast HB1 inspired Lightroom Preset- Savage 1
VSCO x HYPEBEAST Preset collection (HB1 and HB2) was created by the fashion and lifestyle collective HYPEBEAST. The collection has a very street style, editorial vibe- the HB1 in particular. I love the clean highlights and the gritty bluish toned heavy fade in the shadows. Perfect for street photography, fashion blogging, urban landscapes, and editorial style portraiture.
In my HB1 presets, I am emulating the tone curves and colour shifts that gives HYPEBEAST HB1 it's look. I'll break it down as we move down the post.
